Replace El's Kitchen: International Comfort Food: Cheese
Showing posts with label Cheese. Show all posts

Tuesday, November 1, 2016

Skillet Cheddar Jalapeño Cornbread

My friend likes to have parties. For me, a party always bears the question, what do I bring? So, what do you bring you ask? I usually bring dessert. What's wonderful about these get togethers, is that usually everyone contributes something. In turn, there's always a dish or two that becomes the topic of conversation. At one of the parties, I was introduced to homemade cornbread.


I had no idea what happened but everyone seemed to get excited when T showed up with the tins of cornbread.  It was crazy, it was like moths to a flame. You started to see people gather in the corner of the room were the tins were placed. Then someone came up to me and asked if I had gotten a piece.  I said no. They suggested I get a move on before it was gone. Once I bit in I understood what all the hype was about. It's perfect.

Now I know you're thinking... dang you are an adult and you've never had cornbread? But this cornbread was unlike any other I've had. It was buttery and delicious. Sweet and savory. Everything you could ever want in comfort food.  Now I know other people have asked for the recipe so I didn't dare. But I set out to figure it what made it so different. What I realized was that there's definitely a difference in the taste between boxed cornbread and cornbread made with fresh corn meal and flour. So that was where I started.

In the end, I like this cornbread as a "go to" dish. Something that's this simple and easy to make will be a staple. So bye bye boxed cornbread. I'm never going back. That's right! I am in love. And who would have thought all this was made possible by a friends party? Now I know I can't make it like T (especially since I don't have her recipe) but I figured out a combo I like and it's quickly becoming a family favorite. It's perfect because it has a little kick from some jalapeño and a little more from some habanero cheddar cheese. Wooooo!! Can you tell I like spicy?

When we are looking for a real southern comfort food, there's nothing better than cornbread, paired with fried chicken and collard greens. That type of combination absolutely hits the spot.


Skillet Cheddar Jalapeño Cornbread
Makes 8 to 10 servings

Ingredients

3/4 cup of flour
1 1/4 cups of corn meal
1/4 cup of granulated sugar
1 teaspoon of salt
2 teaspoon baking powder
1/2 teaspoon baking soda
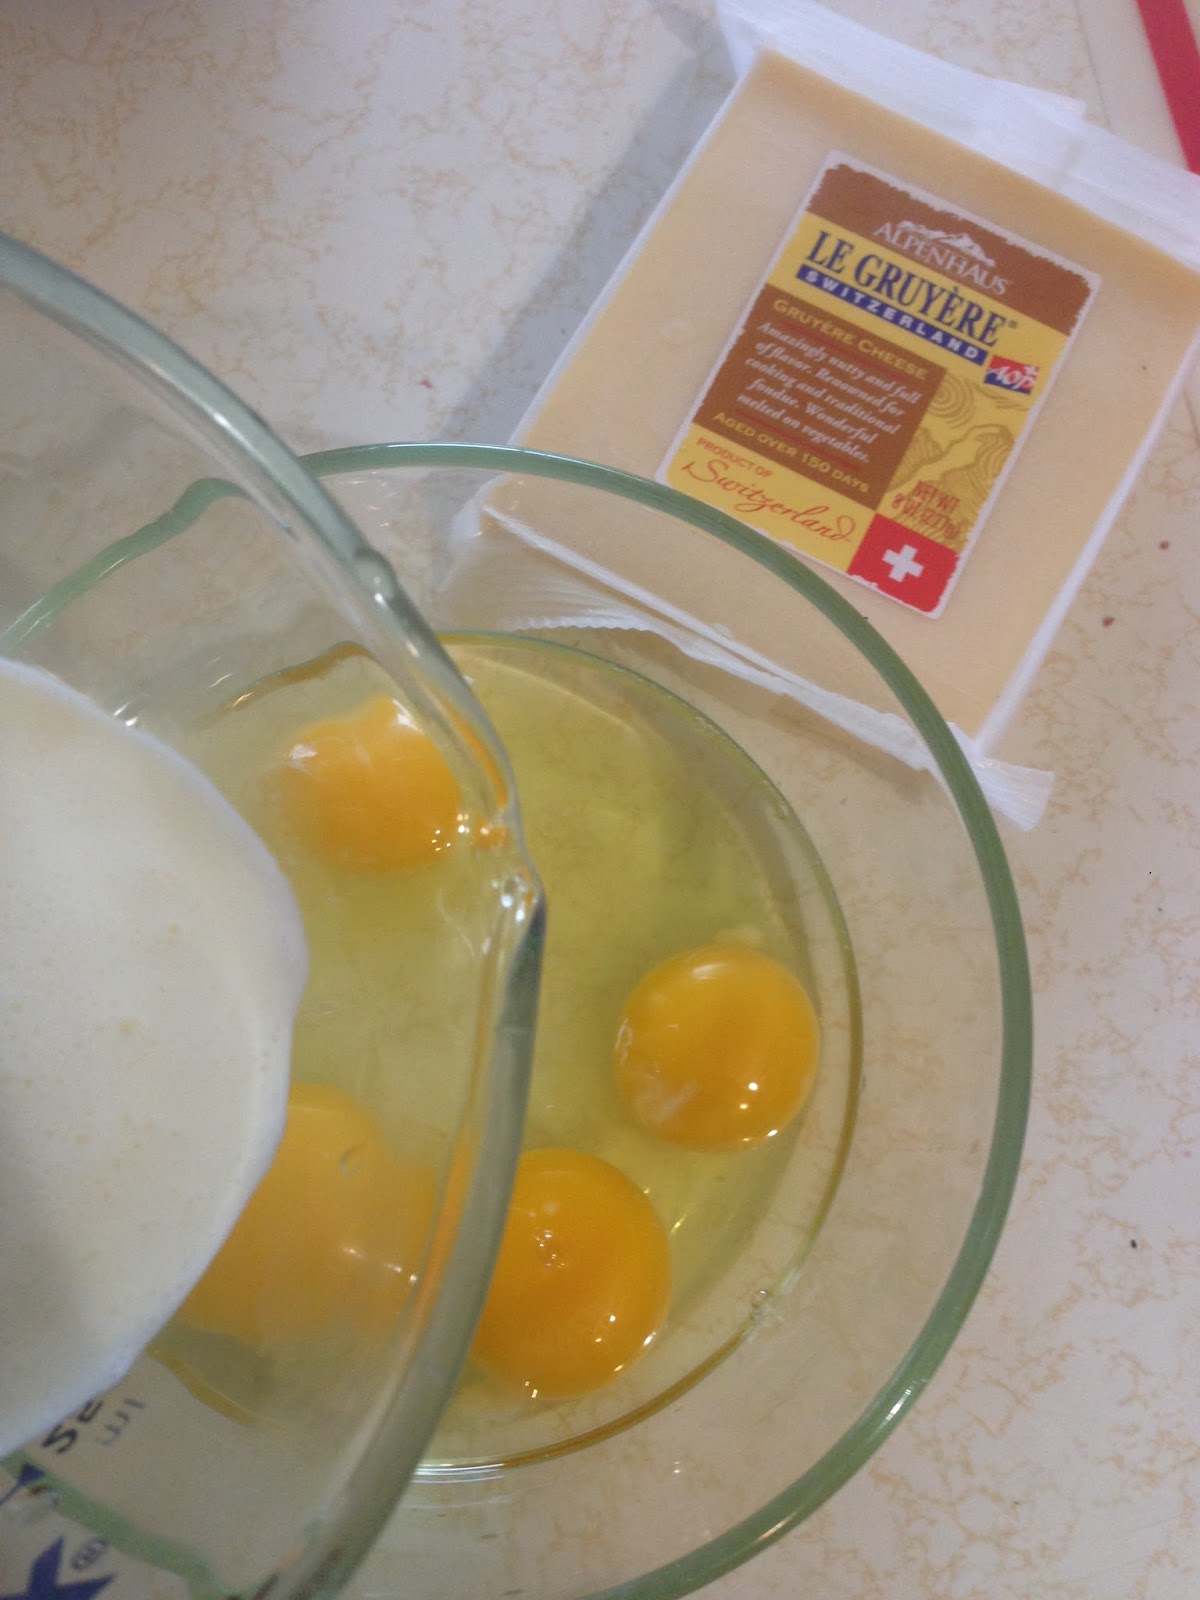
1 cup of milk
2 eggs (lightly beaten)
2 jalapeño peppers (diced)
8 tablespoons of butter (melted)
1 tablespoon of butter (room temperature)
8 ounces of cheddar cheese (shredded)
4 slices of crumbled bacon (optional)

Directions:

Preheat oven to 425 degrees (F)

In a bowl combine flour, corn meal, baking powder, baking soda, sugar and salt.


In a separate bowl combine milk, eggs and butter.

Add milk mixture to dry mixture and mix gently with a spatula (do not over mix).

Stir in 6 ounces of cheese and diced jalapeños into the batter.


Use 1 tablespoon of butter and rub skillet until completed coated.

Transfer batter to pan and smooth top.

Add crumbled bacon (if using). Then top with remaining cheese.

Bake for 20 to 25 minutes or until toothpick comes out clean.

Let cornbread cool. Then serve with your favorite main course.


Monday, May 16, 2016

Quiche Lorraine w/ Spinach


I'm always interested in dishes that are believed to be one thing but really are another. Many times I like to find out where dishes come from so imagine my amazement when  when I read that this dish actually originates in Germany. Of course, it's now a classic French dish that you can find in any French Cafe. It's named after a region in northeastern France. Yes, that area Germany and France fought over for years. Of course, France is not where I had my first Quiche Lorraine. My first experience was in a little cafe on 1st street in New York. I was actually introduced to many new foods there. In hindsight, I wonder if its owner was well traveled. Because that is where I sampled so many dishes from around the world. Now I try to do the same for my family.


But I digress. This dish in particular is savory and buttery and in that aspect very French and easy to love. I kept the classic bacon, heavy cream, eggs and added spinach and cheese. It's always important to have your veggies. Might as well add veggies since this dish is nothing but butter and bacon. I needed to make this quickly so I used a pre-made pie crust but you could use the simple pie crust recipe I used to make apple pie. Either way it's going to be delicious.

Quiche Lorraine with Spinach

Makes 4 to 6 servings

Ingredients:

pie dough recipe/prepared frozen pie crust
6 to 8 pieces of bacon
4 beaten eggs
1/2  cup of milk
1/2 cup heavy cream
1/2 teaspoon of salt
1/4 teaspoon of pepper
4 ounces of swiss/gruyere cheese
1/2 cup of spinach
pinch of nutmeg
2 tablespoons of diced butter on top

Tools: Tart Pan/ pie pan & whisk

*Note: If purchasing a frozen pie crush you may need to bake your pie crust before adding the bacon and egg mixture.


Directions:

Fry or bake bacon.

If frying:
In a frying pan lay strips of bacon, then turn pan to low medium heat. Cook until each side of bacon becomes brown and crispy.

If baking:

On a baking sheet place foil and 6 to 8 slices of bacon.

Place bacon in oven then set oven temperature to 400 degrees.

After 12 minutes the bacon should be  crispy. Pat bacon with a towel to remove oil.

Chop bacon into strips and sprinkle half of bacon into the bottom of the pie crust.


If you baked your bacon turn oven heat down to to 375 degrees.

Beat eggs, cream and seasonings in a bowl until well mixed.

Fold in spinach and 2 ounces of cheese.

Pour egg mixture into pie crust. Sprinkle remaining bacon and cheese on top.


Bake for 30 to 45 minutes or until the edges are firm but the center is still a bit jiggly.

Allow quiche to cool for 20 minutes.


Later this week it's national Quiche Lorraine day so let them eat Quiche!!

Monday, January 18, 2016

Corn Beef Hash Grittata

Do you ever find yourself binging on cooking shows? That's what I found myself doing the other weekend. Many times I'm running around on the weekend, so I've started recording shows to watch later. Of course what happened is then I spend hours watching cooking shows back to back. Sometimes these shows inspire me to make new dishes or to think differently about my combination of ingredients. The other day, Chef Marcela hit me with the mother load.


The Kitchen had its breakfast special and I found myself engrossedChef Marcela had me the moment she said sausage and grits. It's a combination that reminded me of when I used to work in this breakfast dive while in high school. I worked Sunday mornings so most of the customers were repeat clients. Initially the dishes the would request seemed odd to me but their satisfaction with the food encouraged  me to try new things. It was while working there that I first tried beef sausage and beef bacon. My food escapades there...that's a story for another time. Back to Marcela's dish.

What caught my attention was that Marcela's dish was high protein breakfast. I've been looking to boost my overall protein intake. When I have a long day, that's exactly what I need to get me through. Though I love her Cheesy Sausage Breakfast Grits, I altered it to fit what we like and I might have actually increase the protein in the dish. I'm using the term "grittata" because that's what Jeff Mauro called it and I like it. Of course, if you don't like corn beef hash, swap it out for sausage or bacon.


Corn Beef Hash Grittata
Makes 8 servings

Ingredients

1 can of corn beef hash
2 cups of milk
1 cup of water
1 cup of quick grits
2 cups of shredded cheddar cheese
5 large eggs
2 green onions/scallions chopped
1 teaspoon of salt
pepper

Tools Needed: Cast iron pan and whisk.

Directions:
Preheat oven to 375 degrees.

In a cast iron pan over medium heat begin cooking corn beef hash.

Allow hash to cook 4  to 5 minutes allowing it to brown.

Remove hash from pan and set aside.


Add 1 cup of milk and 1 cup of water to pan and bring to a boil.

Add 1 teaspoon of salt.

Reduce heat and slowly whisk in grits. (Nice and slow to avoid clumps)

Continue whisking until grits become thick.

Remove grits from heat and add 1 cup of shredded cheddar cheese.

Gently stir cheese into grits.

In a medium bowl, whisk together eggs and remaining milk. Add a pinch of salt and pepper.

Slowly pour eggs on top of grits and stir gently.

Add green onions.


Then add corn beef hash to the pan and stir gently. I actually used a fork to incorporate the corn beef hash and eggs.

Add remaining cheese on top, place pan in oven and cook for 45 minutes to 1 hour.

The dish is done when knife/skewer comes out mostly clean.


This dish is delicious and filling. Best of all it incorporates everything I love about breakfast, corn beef hash and grits. Talk about a dish the hits the spot. Hope you like it as much as we did!!


Thursday, October 1, 2015

Mini Mac & Cheese

Roll apple roll. It's a conversation I've had often with my friends. How we are so much like our parents or how our children are like us. My mini me is exactly like me. That's why I call him mini me. We are alike in so many ways. We even like the same foods. So it's no surprise that he loves cheese. If left to our own devices we would probably eat grapes and cheese for breakfast, lunch and dinner. It's something I picked up from my mother and that my mini has picked up from me.


So as the cold weather rolls in, I wanted to make my mini me a favorite to bring to school for lunch. And what dish has enough cheese to please mini me ... mac and cheese. I love old school mac and cheese. There's something about lots of cheese baked into noodles that says I love you. But I've been making stove top mac and cheese because I've needed something quickly. Can't keep mini me waiting for food. But today I cut out a bit of time so he can enjoy this baked dish at school. This dish is a combo of everything I love about baked mac and cheese as well as stove top mac and cheese. It baked and gooey with a cheese sauce. I mean who doesn't love a cheese sauce. Talk about comfort!!

Mini Mac & Cheese

Makes 12

Ingredients:
4 ounces of elbow noodles
1 egg
2 ounces of cheddar cheese (shredded)
2 ounces of monterey jack cheese(shredded)
2 ounces of parmesan cheese
2 tablespoons of flour
2 tablespoons of butter
1 cup of milk

½ teaspoon of salt
⅛ ground black pepper
bread Crumbs -Optional
salt and pepper to taste

Tools: Wire Whisk (A wire whisk works better with this cheese sauce) and cupcake pan.


Directions:

Preheat oven to 350 degrees and spray cup cake pan with oil.

Over medium heat, bring 3 quarts of water in a pot to a boil. Add a pinch of salt.

Once boiling, add the elbow noodles and cook for 6 minutes. Place noodles in a strainer and set aside.

In a saucepan over medium heat melt butter.

Once butter has completely melted, add flour and stir thoroughly. The flour will begin to brown. Keep stirring.

Add some ¼ teaspoon of salt and pepper.

Stir in milk and slowly add cheese. Whisk as you add cheese.


Add noodles. Use a spoon or spatula to make sure noodles are completely covered with cheese mixture.

Add additional salt and pepper to taste.

Remove cheese and noodle mixture from heat.

Whisk egg in a separate bowl then add to the cheese and noodle mixture. Mix thoroughly.

Add 1/2 cup of the mac and cheese mixture to each cup.

Place cupcake tin in oven and bake for 15 to 20 mins. The edges of the mac and cheese will become slightly browned.

Let the mini mac and cheese cool for about 5 minutes.


These were supposed to be part of mini me's lunch but were such as success there was nothing left. Guess I'll be making more of these before the week is over. Hope it goes as fast in your house.

Thursday, September 10, 2015

Ham & Cheese Egg Muffins

It's back to school and around this time of year I try to do everything possible to make life a little easier in the morning. Many days we're a fine line between being on time or an hour late to work. It all depends on what time we get out of the house. So in addition to trying to pack everything up the night before, I decided it would probably be helpful to have a breakfast we could eat on the go. My choice this week was egg muffins.


I love this dish because there's not a lot of prep time which means I can spend Sunday doing something else, like preparing dinner for the week or spending time with family. It's also great because you can use it to get rid of the little bit of cheese (or other items) that always seem to be left behind after making something.

Of course, I am the main culprit of not eating breakfast in the morning (and almost being late) so having these in the fridge leaves me few excuses. Mix and match the ingredients and see what works for you. It's a quick fix for the morning rush.

Ham & Cheese Egg Muffins
Makes 6 servings

Ingredients
8 eggs
1 cup of spinach
6 slices of Virginia Ham
1/2 cup of milk
4 ounces of Vermont white cheddar cheese
4 slice of swiss cheese
sprinkle of salt and pepper

Cookware Needed: cupcake tin


Directions

Preheat oven to 350 degrees. Spray cupcake tin with olive oil or grease with butter.

In a large bowl whisk together eggs, salt and pepper. Then add in milk.

Dice ham and cheese and add to mixture. Mix with a fork until thoroughly combined.

Next add salt to spinach, then add spinach to egg mixture. 
*Hint: If using frozen spinach unthaw and squeeze water out before adding to egg mixture.


Spread mixture evenly among cups and bake for 20 minutes or until done.

Store in the fridge and reheat in the microwave. Yum. Hand held food. It always taste better when you eat with your hands!!