Since I was young, one of my favorite desserts has been the fruit tart. Across the street my from elementary school was a delicious "French" bakery and I lived to go and get sweet treats from there. In hindsight, that owner was pretty slick. Putting a bakery, filled with buttery, sweet, delicious foods right next to a school.
Ever since then, I have been in love with fruit tarts. This sweet French pastry hits the spot when I'm wallowing in the midst of my own despair (I know dramatic right). But sweets make everything better right? At least temporarily. Whether it's the Spanish, French or Italian version of this type of dessert, it's everything you need. In the past, I wouldn't even think to make a dessert like this for fear it would be too difficult. But behold a simpler way to make this French classic.
With some adjustments to the filling, you can create a tart similar to this French dessert. Best part is that it's so simple you can make it with your friends and family since there's very little stove time. By substituting cream cheese for the classic milk and egg custard, anyone can help prepare this sweet treat. The kids, your girlfriends even people who can not cook, can still help. You can use my quick
pie crust recipe or a frozen pie crust from the grocery store. Add whatever fruit you'd like and you too can enjoy this play on a French classic whenever you please.
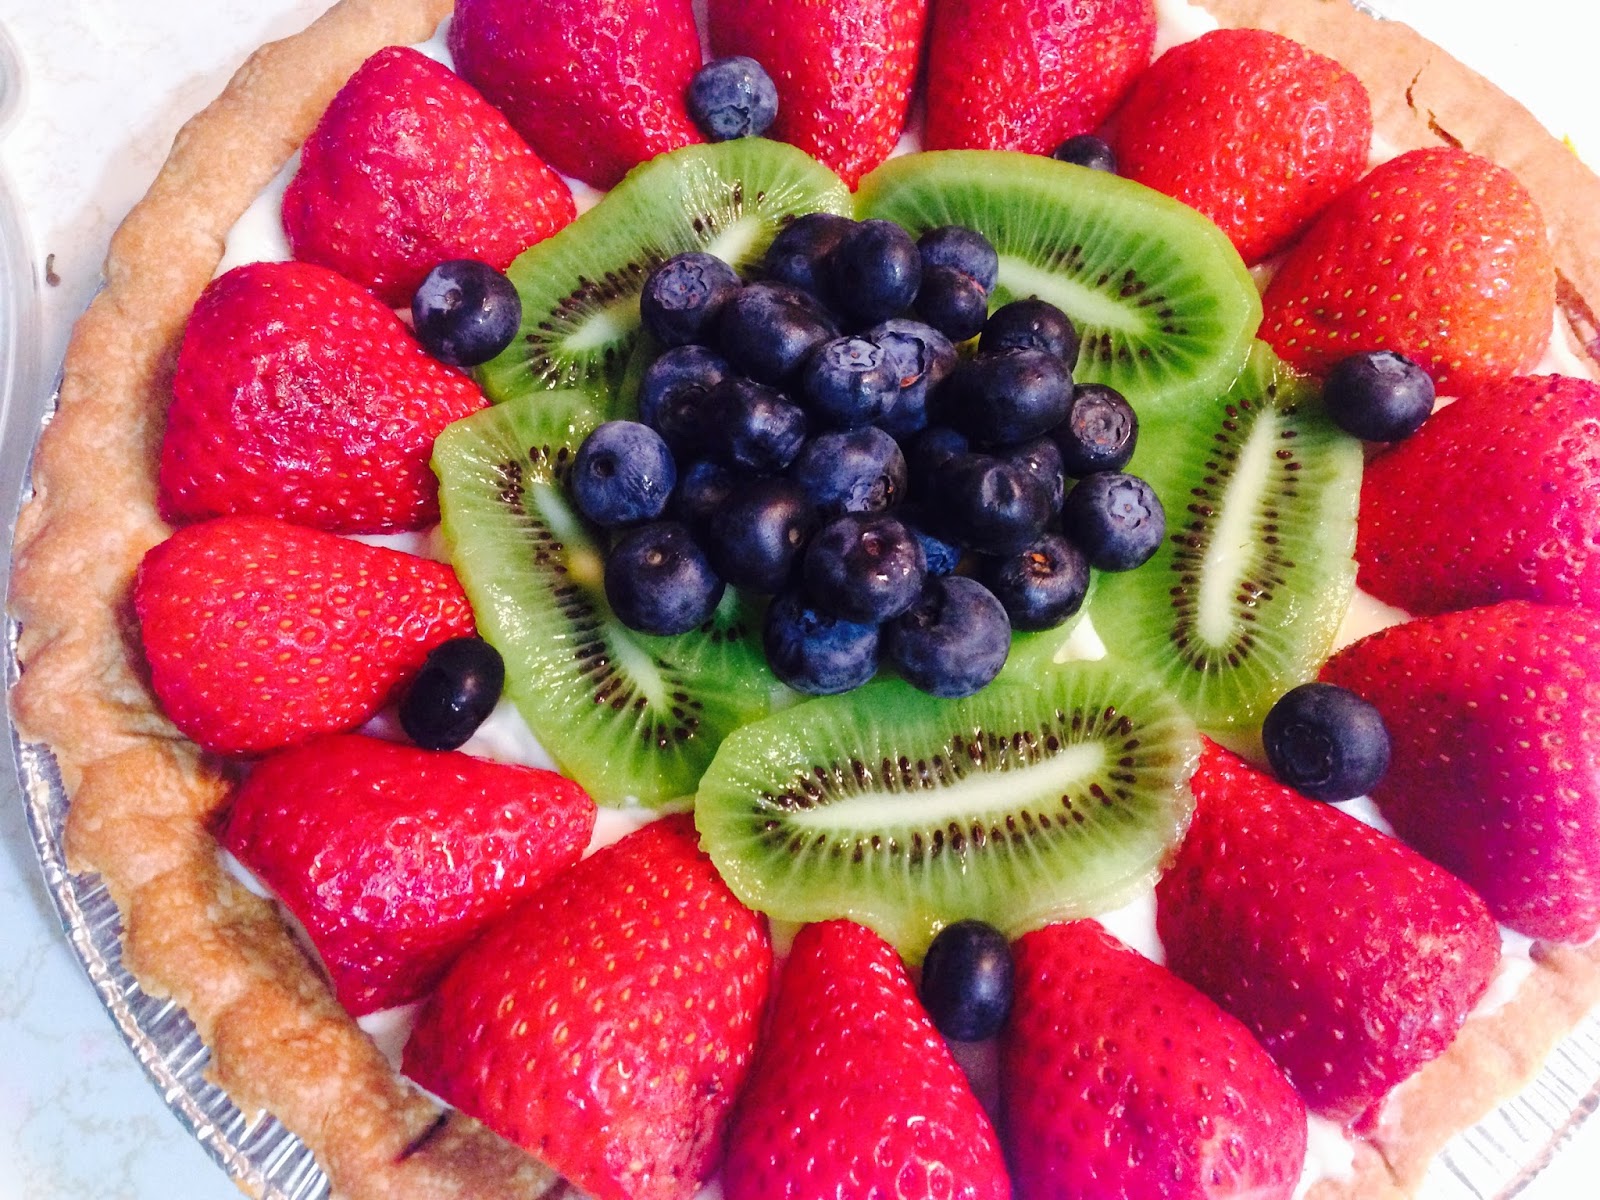
Fruit Tart
Makes 2 Pies (8 servings per tart)
Ingredients
Pie Crust Recipe
Filling
2 - 8 ounce bars of cream cheese
1/2 cup of heavy cream
1 cup of sugar
2 teaspoons vanilla extract
2 cups of strawberries
1 cup of blueberries
4 kiwis sliced
Glaze
1 1/2 cups of water
1 cup of sugar
1 teaspoon of lemon juice
1 teaspoon of lemon zest
Tools: Mixer, spatula, 2 pie plates (foil pie dish)
Directions:
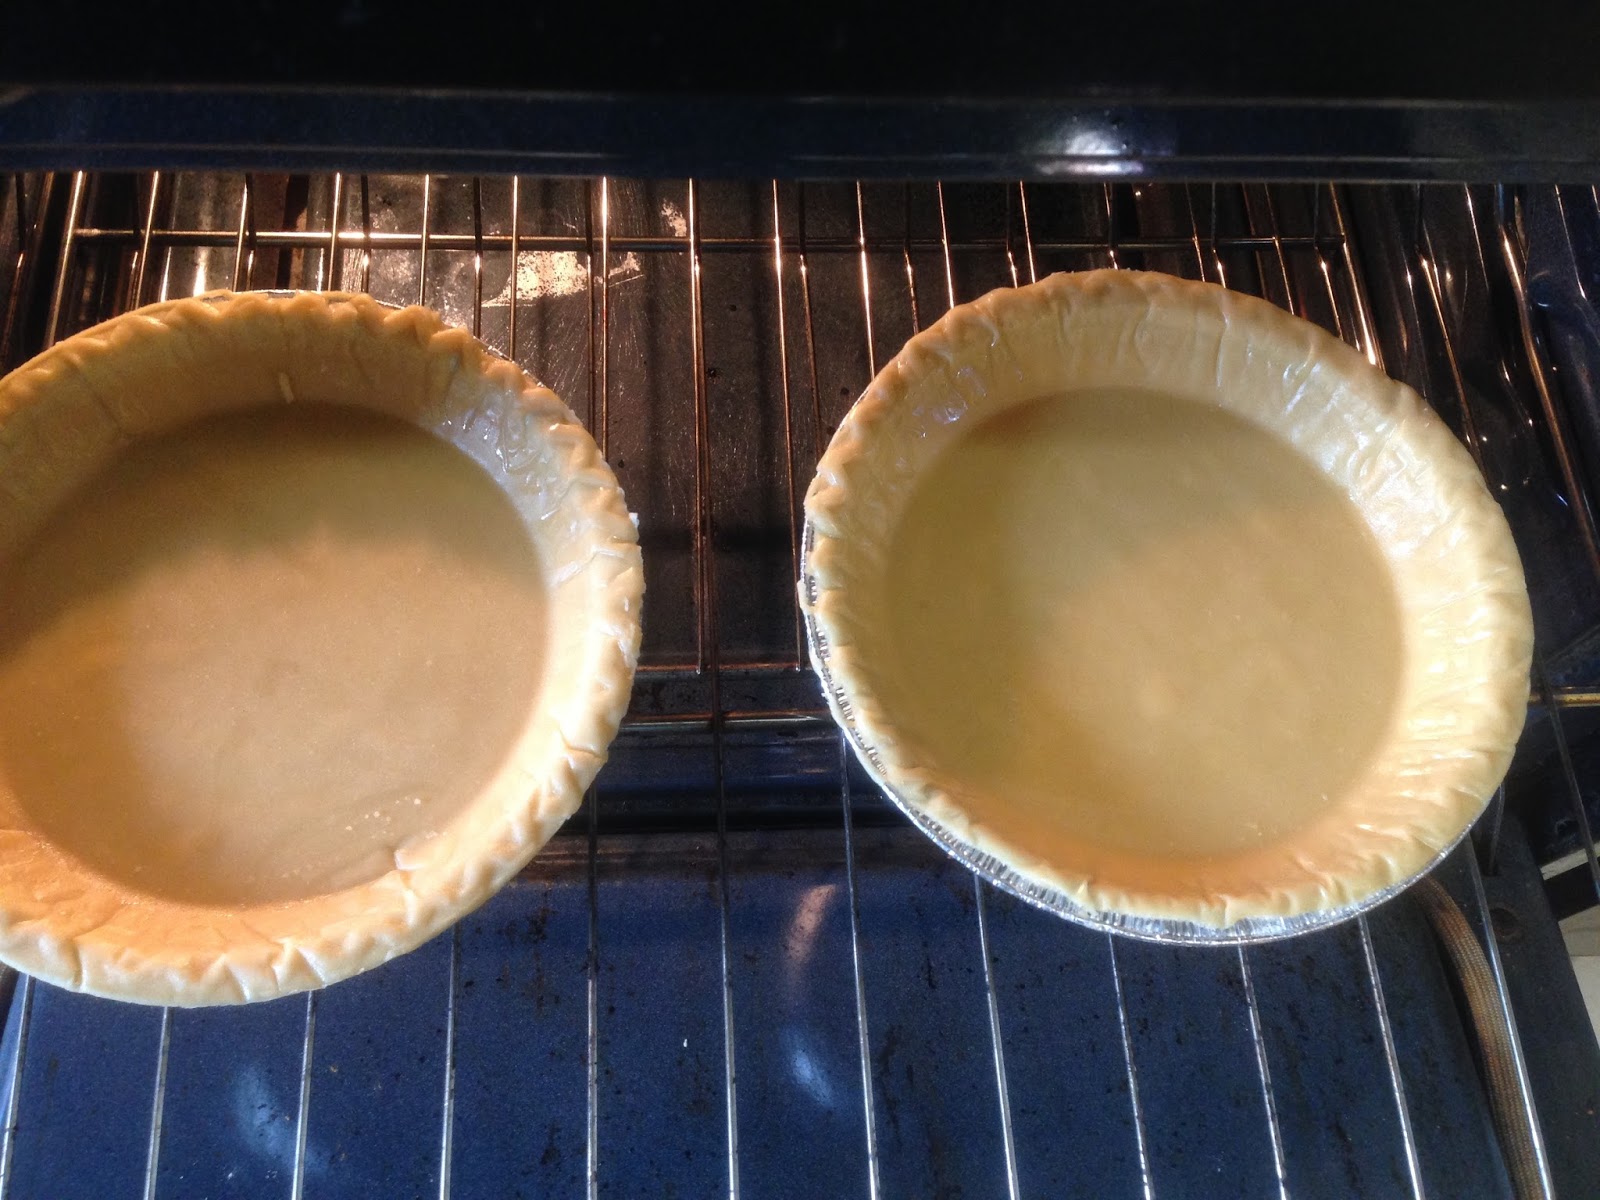
Frozen pie crust:
Unthaw then use a fork to poke holes in the bottom of the pie crust. Bake according to directions.
Scratch Pie Crust:
Pre heat oven to 375 degrees F.
Roll out dough. Place pie plate upside down on dough making sure dough is rolled thin enough for two pie crusts.
The cut out of dough should be 4 to 5 inches larger than the pie plate.
Place dough in pie plate and gently press evenly into the bottom and sides.
Leave a half inch border then trim excess off the sides and crimp the sides.
Place a piece of parchment paper inside the pie crusts and place a handful or two of dried beans/lentils on top (this will help the crust stay firm once we add the custard and glaze).
Bake at 375 degrees F on the middle rack for 15 minutes or until lightly brown.
Remove parchment and beans and allow crust to cool.
In a bowl combine, cream cheese, sugar, vanilla and heavy cream.
Using a mixer beat until smooth.
With a spatula, begin to scoop equal amounts of cream filling into cooled pie crusts.
Refrigerate until firm. About 30 minutes.
Place fruit over cream filling.
In a small saucepan add water, sugar, lemon and lemon zest. Bring to a boil over medium high heat.
Allow water/sugar mixture to reduce into a syrup like consistency. Approximately 15 to 20 minutes
(1 tablespoon of cornstarch can speed up the thickening process).
Allow glaze to cool. Once cooled, brush glaze on top of tart.
Refrigerate for at least 20 minutes before serving.
Enjoy with friends and family. I'm sure everyone will leave with a smile.